The Bucket Session: A Thirty-Minute Monthly Reset for the Bag That Carries Your Kit
You wash your training kit. You probably wash it more than your jeans. But the bag that carries it? That gets a wipe when something leaks and a sniff when something smells. The bag is part of the kit, and once a month it deserves a proper bucket session — not a full spa day, just thirty focused minutes that keep it fresher, stronger and less likely to make your clean kit smell like a changing room floor.
The bag is not a neutral container
A gym bag collects everything your kit sheds: sweat residue, dead skin, chalk dust, crumbs from the snack you forgot about, and the damp fug from a towel that went in at 7am and came out at 7pm. None of that is dramatic. It is just grime, and grime is easier to deal with on a schedule than on a surprise. A monthly wash also gives you a chance to check straps, zips and linings before they fail at the worst possible moment — usually in a cramped cubicle with one hand free.
What you actually need
You do not need a special kit-cleaning kit. A bucket or a clean sink, mild detergent, a soft brush or an old toothbrush, a couple of microfibre cloths and a dry towel will do most of the work. A silicone zip lubricant or a little beeswax is useful if your zips are gritty, but it is optional. Skip bleach, skip fabric softener and skip anything labelled heavy-duty degreaser unless the care label specifically says otherwise.
Step one: empty it like you mean it
Take everything out. Not just the obvious stuff — the hair ties in the side pocket, the receipt from the protein bar, the pad wrapper that has fused to the lining, the spare sock that has been living in the mesh pocket since February. Turn the bag inside out if it allows it, shake it outside, and vacuum the corners with a brush attachment if you have one. Check the care label now, before the bag gets wet. Most nylon and canvas bags are hand-wash only; some removable liners can go in the machine on a cool wash. Follow the label, not a forum post.
Step two: wash the shell by hand
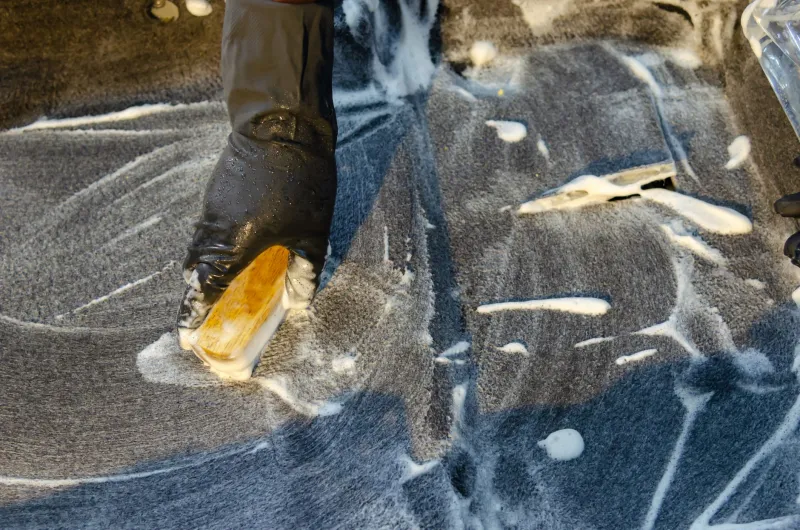
Fill a bucket or sink with cool to lukewarm water and a small squeeze of mild detergent. Submerge nylon or canvas for about ten minutes, then work the soft brush over the base, the inside seams and any obvious marks. Do not scrub printed logos or coated panels hard — gentle circles are enough. Rinse thoroughly with clean water, because leftover detergent attracts dirt and makes the fabric feel stiff. Mesh bags need less soaking and more rinsing; treat them like a delicate laundry item rather than a scouring pad. If your bag has a removable liner, wash it separately according to its label, and wipe down non-removable liners with a cloth dipped in mild soapy water.
Step three: straps, zips and the bits everyone forgets
Strap grime is real. Webbing straps soak up sweat and hand cream, and they sit against your shoulder for hours. Brush them with soapy water, rinse well and hang them straight so they dry flat without twisting. Zips collect grit, which is why they start to feel rough halfway through the month. Use the toothbrush to clear the teeth, rinse, dry fully, then apply a tiny amount of silicone lubricant or beeswax along the teeth and run the zip a few times. Do not use cooking oil or WD-40; they attract dirt and leave a smell. Wipe handles, grab loops and the base of the bag last, because that is where the floor grime lives.
Step four: dry it without a radiator
This is where good intentions go wrong. A radiator can warp coatings, weaken glue and leave the bag smelling like hot plastic. Instead, open every pocket and zip, stuff the bag loosely with a dry towel to hold its shape, and hang it in a well-ventilated room. A fan pointed at it for a few hours speeds things up. If the weather is dry, an outdoor line in the shade works well; if it is typical British drizzle, an airing cupboard or a room with a window cracked open is better. Flip the bag after a few hours and remove the towel once the inside feels dry. Give it a full twenty-four hours before you pack it away. Damp bag plus clean kit equals a pointless cycle.
The monthly schedule for real life
Busy commuters: aim for the first Sunday of the month, or after every eight to ten sessions, whichever comes first. Lunchtime lifters: a full wash every four weeks is plenty, with a quick wipe of the inside and a strap rinse every Friday. Anyone who trains before work: monthly wash, plus a weekly airing on the radiator-free drying plan above. If you sweat heavily, train in a humid gym or leave damp kit in the bag for hours, bring the wash forward to every two to three weeks in summer. A simple rule: if you can smell the bag from arm's length, it has already told you what to do.
When monthly is not enough
Wash it sooner after a spill, a leaky bottle, a bout of illness or a towel left in there overnight. If you spot mould, do not just mask it with spray — wash the bag properly, dry it fully and consider whether the lining has had it. A bag that stays damp and dark is a small ecosystem, and not the kind you want next to your clean gym kit.
The payoff
A thirty-minute bucket session once a month keeps your bag smelling neutral, protects the zips and straps you rely on, and makes your clean kit feel clean for longer. It is not glamorous. It is just maintenance, like checking your headphones or replacing your towel. The bag carries your gains, your commute and your post-work plans; giving it a wash is the least it deserves.